DIY Mickey Headband Bangle
- Niki Sciarini

- Sep 11, 2019
- 2 min read
Materials
· Clay (I use Fimo but the type is up to you on what you prefer)
· Clay sculpting tools
· Wire bangle
· Wire loops
· Jewelry pliers
Instructions
· Decide on what you want to make and make sure you have all the colors and supplies needed to make it.
· Knead your clay before use so you can assure it is moldable and won’t crack.
· Begin to roll out a chunk of clay you want to be the “headband”, continue to roll until flat about 1/4 centimeter.
· Using the knife clay tool cut thin strip of the clay about ½ centimeter. Bend the strip so it resembles the shape of a head band.
· To make the ears, get two small, equal sized balls and flatten them to a platter shape. Using the curved cutting tool, cut a crescent of the circle so it will fit onto the curve of the headband piece. Attach the ears to the band.
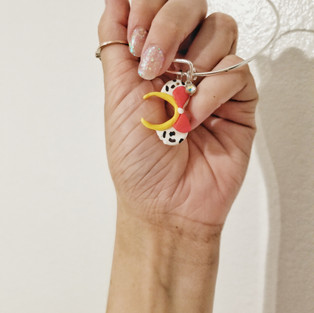
· Depending on what kind of ear band you aspire to make, the next step is all decorative and you can do as much or as little as you would like.
--To make bows, I simple use the same technique as I did on the ears, however, instead of cutting a crescent, I cut it into a shape that resembles a slice of pizza. Then put a very small ball in between the pieces.
--If you want to add glitter or draw onto your piece, wait until after it is baked and hardened.
· Once your ear band is how you want it, grab the poking tool and make a small hole in the top of one your ears. Then place your pieces into the oven and follow the instructions on your clay packet (different clays bake at different temps and for different times).
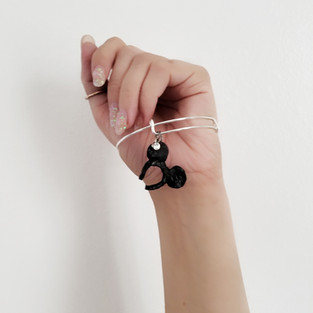
· Once hardened, place a wire loop through the hole and attach it to the wire bangle. You can add crystals or other gems, or charms to add to your bracelet.
Tips
· Pay attention to the instructions on your clay packaging. Different clays bake differently, even clays of the same brand may have different baking temps.
· You can make your charm as big or as small, as thick or as thin, as you would like. This is your bracelet so do what you like.
· Always wait until you have kneaded the clay before you begin to mold. It can prevent breaking.
If your pieces won’t stick together, you can add a small dob of super glue. Be aware that when it dries it may leave a white residue where you didn’t wipe it off or cover it.


Comments